Hiking gear
Real-world gear for long hikes, camping trips, and life on the road.
My Entire Hiking Gear
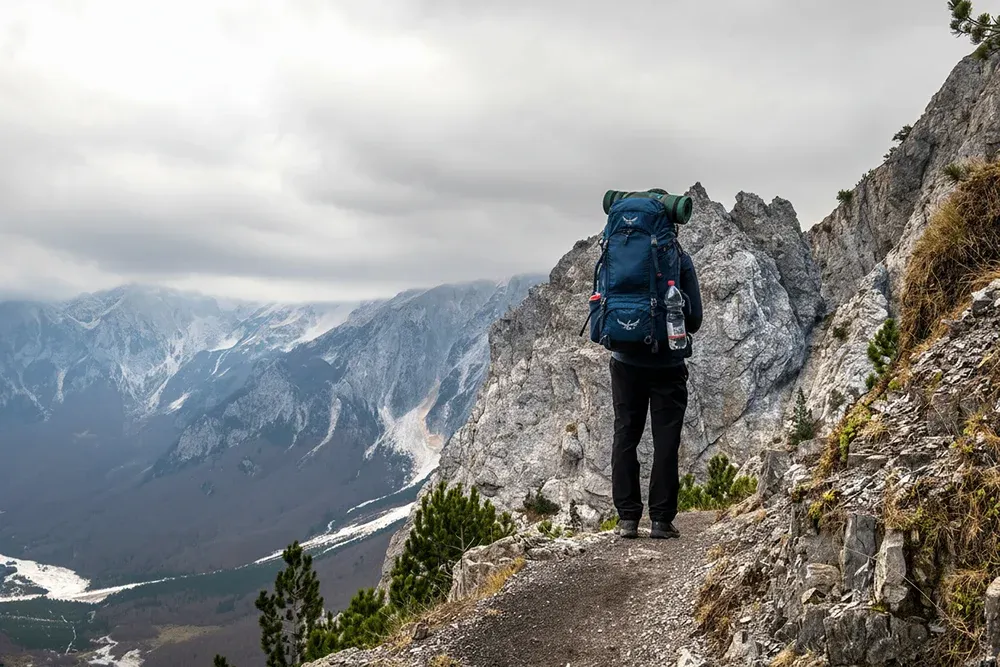
Over the past 20 years, I’ve been lucky enough to hike in some incredible places — from the European Alps and the Atlas Mountains in Africa to the Rockies in Canada and the Tien Shan Mountains in Central Asia. Somewhere along the way, I learned that great hiking trips aren’t about having the most gear — they’re about having the right gear.
If you’re heading out on multi-day hikes, long-distance treks, or big mountain days, your setup really matters. Your backpack needs to be comfortable, lightweight, and practical. Get this wrong and even an amazing trip can turn into a grind. I’ve seen plenty of people carry too much, rely on gear that hasn’t been properly tested, or bring setups that look good on paper but fall apart once you’re 10 days and 100km in.
I’m not talking about casual overnight walks here. I’m talking about long days, big climbs, and trips where everything you carry has to earn its place. Over the years, I’ve watched people try to save money on critical gear, only to end up carrying more weight, moving slower, or cutting trips short because something failed or became unbearable to use.
After countless trips and more than two decades of hiking, this is the setup that’s earned a permanent place in my pack. It’s the gear I trust for long days, rough weather, and remote places — practical, tested, and built for real-world use in the mountains.
Everything below is what I actually use when I’m out hiking and camping. No hype. No “just in case” extras. Just the gear that’s proven itself, trip after trip.
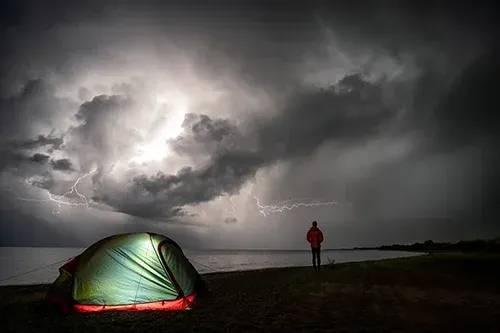
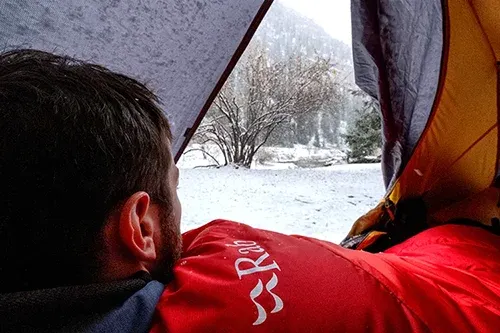
Camping Setup
A good camping setup can make or break a trip. I’ve always said your first long hike will either hook you for life or send you straight back home—and most of the time, that comes down to what you’re carrying on your back and sleeping in at night. If your gear is too heavy, uncomfortable, or unreliable, every day becomes harder than it needs to be, and the experience suffers fast.
Over the years, I’ve learned that going lightweight usually comes with a price tag—but it doesn’t have to mean going extreme or uncomfortable. The setup below is what I actually use on the road: a balance of weight, durability, and comfort that lets me hike long days and still get a solid night’s sleep. It’s been tested on multi-day trips, in rough weather, and in remote places, and it’s what I trust when I want to focus on the experience instead of fighting my gear.
This is the core of my sleep and shelter system—the stuff that actually determines whether I recover well and enjoy the next day on the trail. Everything here has earned its place in my pack. It’s simple, reliable, and built around one goal: carry less, sleep better, and wake up ready to do it all again.
My Current Camping Kit:
Hiking Tent: Illumina X 2-Person Ultralight Hiking Tent
Summer Sleeping Bag: Spark Down Sleeping Bag 7°C
Winter Sleeping Bag: Spark Down Sleeping Bag -9°C
Sleeping Mat: Ultralight XR Insulated Sleeping Mat
Hiking Pillow: Aeros Premium Pillow
Sleeping Bag Liner: Reactor Mid-weight Sleeping Liner
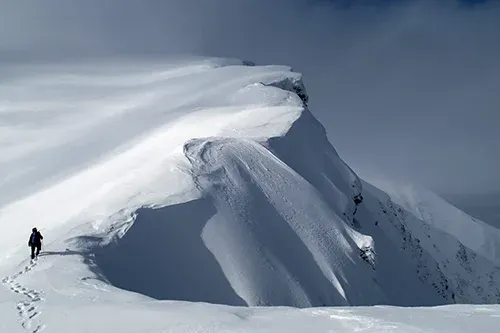
Hiking Setup
When it comes to hiking gear, you can spend anywhere from a couple of hundred dollars to a few thousand—and when you’re starting out, that usually doesn’t make much sense. That said, I’ve learned the hard way that the right gear can absolutely make or break a trip. That’s why I’m a big believer in what I call “day cost averaging.”
Take a backpack, for example. If you spend good money on something that’s comfortable, durable, and fits properly—and you use it for hundreds of days over a few years—the cost per day becomes pretty small. More importantly, it saves your back, your shoulders, and your mood on long hikes. For me, that trade-off is always worth it.
I take the same approach with boots, shoes, jackets, and layers. I’ve been using Osprey packs for over a decade, and Salomon footwear has carried me through thousands of kilometres of trail—from big mountain days to long-distance hikes. This isn’t about chasing the most expensive gear. It’s about choosing things that work, last, and let me focus on the hike instead of what’s rubbing, breaking, or slowing me down.
Everything below is what I’m currently using on the trail. It’s a setup built around comfort, reliability, and long days on your feet—without carrying more than you actually need.
My Current Hiking Kit:
Backpack: Osprey Atmos AG LT 65L
Day Pack: Osprey Hikelite 26 Unisex Pack
Water Bladder: Osprey Hydraulics Hydration Bladder - 3L
Hiking Boots: Salomon Quest 4 GTX Boot
Hiking Shoes: Salomon X Ultra 5 GTX Shoe
Hiking Poles: MSR DynaLock Ascent Carbon
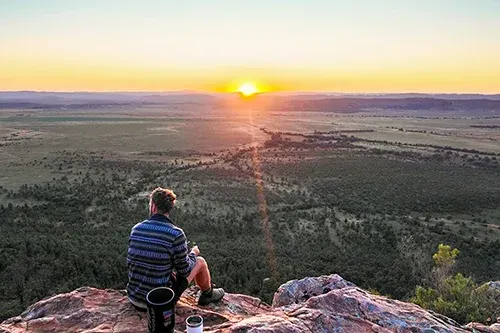
Cooking Setup
Over the years, my hiking cooking setup has gone in one direction only: smaller, lighter, and simpler. The less time I spend carrying heavy gear or cooking complicated meals, the more time I get to spend hiking, fishing, and watching the sunrise from a ridgeline.
Good camp cooking gear has come a long way, and these days I don’t overthink it. Most of my meals on the trail are about efficiency: boil water, eat well, make coffee, and move on. I’ve lost count of how many times I’ve carried my Jetboil up to a viewpoint just to sit, watch the light change, and have a hot coffee. Money well spent, if you ask me.
Because I live in my campervan full-time, I’m lucky enough to have a proper kitchen most of the time. That means when I head out hiking or camping, I can keep my cooking kit very minimal and focused on what actually works in the real world. The setup below is what I use for everything from overnight trips to multi-day hikes. It’s simple, reliable, and does exactly what I need it to do—no more, no less.
Like the rest of my gear, this isn’t about having the “best” or most expensive setup. It’s about having gear that works, packs small, and doesn’t get in the way of the experience.
My Current Cooking Kit:
Cooker: Jetboil Minimo Carbon
Pan: Frontier UL Anodised 8" Pan
Dinnerware: Frontier UL Collapsible Dinnerware Set
Spork: Frontier Ultralight Long Handle Cutlery
Portable Kitchen: Camp Kitchen Tool Kit
Multitool: Leatherman Signal Multitool 19-in-1
Coffee: Jetboil Grande Coffee Press
Hiking Food: Back Country Dry Food
Clothing & Accessories
Clothing and accessories are the quiet heroes of any hike. Get this part wrong and you’re cold, wet, uncomfortable, or carrying far more than you need. Get it right and you barely think about it—which is exactly how it should be.
Over the years, I’ve learned to keep this side of my setup simple, reliable, and built around layering. I’m not chasing trends out here. I want clothing that works in bad weather, packs down small, dries quickly, and holds up to real use on the trail. Most of what you see below has earned its place through long days, cold mornings, and more than a few trips where conditions didn’t go to plan.
The same goes for the smaller accessories. Things like dry bags, a solid first aid kit, a GPS, and a few practical essentials aren’t exciting to buy—but they’re the gear you’re very glad you packed when the weather turns or plans change.
Just like the rest of my setup, this is all about comfort, safety, and not overpacking. If something doesn’t earn its spot in my pack, it doesn’t come with me.
My Current Clothing & Accessories Kit:
Winter Jacket: The North Face Men's Aconcagua 3
Survival GPS: Garmin inReach Mini 2
Thermals (Top): Kathmandu Men's KMDMerino Baselayer
Thermals (Bottom): Kathmandu Men's KMDMerino Baselayer
Gloves: The North Face Men Apex Etip Glove
Drybags: Sea to Summit Ultra-SIL Dry Bags
Towel: Sea to Summit Drylite Towel
Packing Cubes: Osprey Europe Unisex Packing Cube Set
First Aid: SURVIVAL Snake Bite First Aid KIT
Explore My Work
While you’re here, feel free to explore more of my work below.


LET'S STAY CONNECTED


Join My Travel Journal
Get honest stories from the road, practical lessons I’ve learnt living on the road, new videos, behind-the-scenes adventures, and things I don’t always share publicly.
Contact Me
South Australia
m: 0459367713
e: [email protected]

Living on the Road • Sharing the Story
Australia-Based
Copyright © Matthew Storer